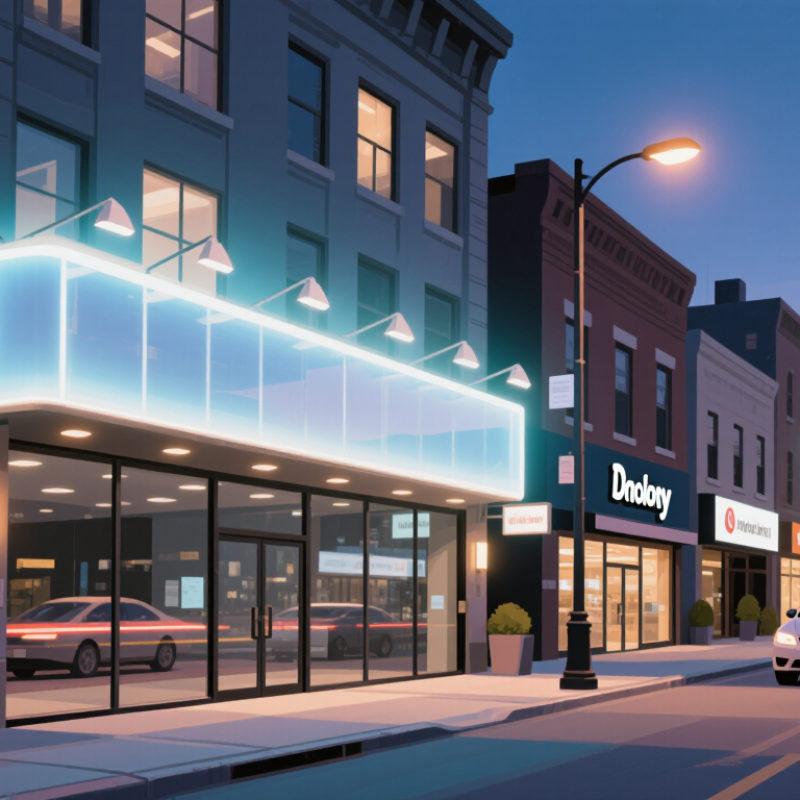
Choosing the best Acrylic Led Sign requires more than selecting a bright color and attractive shape. The sign must represent your brand clearly, remain readable at a practical distance, and survive daily exposure to sunlight, rain, dust, and temperature changes. A useful decision begins with the storefront itself. Measure the viewing distance. Observe the street after sunset. Note nearby lighting, window reflections, and vehicle speed.
David Hickey, a recognized sign-industry authority and former International Sign Association leader, once said, “A sign should work when the business is closed, too.” That principle remains valuable. Your Acrylic Led Sign should communicate location, identity, and confidence during business hours and after dark. Check the acrylic thickness, LED quality, light diffusion, color temperature, power consumption, mounting method, and warranty terms. Ask whether replacement components are accessible. Small details matter.
Avoid choosing only by the lowest quotation. I have seen inexpensive signs develop uneven brightness, cloudy panels, or loose wiring sooner than expected. Still, the most expensive option is not automatically the best. That assumption deserves questioning. A carefully tested mid-range sign may outperform a premium design with poor installation.
This guide explains how to compare materials, illumination, size, durability, customization, maintenance, and supplier credibility. It also considers local placement requirements and safe electrical installation. Before ordering, request a scaled drawing or nighttime sample. A realistic preview can reveal awkward proportions, excessive glare, or lettering that disappears from the road. Good signage is not decoration alone. It is a quiet salesperson, working continuously.
How to Choose the Best Acrylic LED Sign for Your Business
Start by defining what the sign must achieve. Will it attract drivers, guide visitors, or reinforce your storefront identity? Then assess LED efficacy, measured in lumens per watt. The U.S. Department of Energy identifies 80–150 lm/W as a practical range for many efficient LED applications. Higher efficacy can reduce electricity use, but it does not automatically create a better sign. Lens design, acrylic clarity, color temperature, and viewing distance also affect visibility. A bright sign can still look uneven.
Tips: Request measured lumen output and total wattage, not vague claims. Check results at the intended operating temperature. Ask whether the figures include the power supply. Review dimming options for nighttime use. Small details matter.
In real installations, I have found that uniform illumination often matters more than peak brightness. A shallow acrylic face may need carefully spaced LEDs to prevent dark patches or bright “hot spots.” For a roadside sign, compare readable distance during daylight and after sunset. For an indoor lobby, lower output may feel more professional and reduce glare. Use 80–150 lm/W as a comparison range, not a promise. Some advertised figures are laboratory results, and field performance may fall. That difference deserves honest attention. Also consider maintenance access, weather exposure, heat management, and the expected operating schedule before approving the final design.
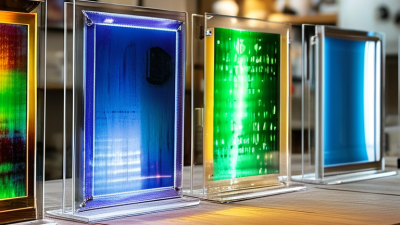
Acrylic thickness should support the viewing distance, sign size, and lighting method. For close indoor viewing, 3–5 mm acrylic usually provides clean edges and strong light transmission. It also keeps small lettering visually sharp. At 5–15 meters, 5–8 mm acrylic can offer better rigidity for larger panels. Outdoor signs may need 8–10 mm material, especially when wind or wide spans are involved.
Thickness alone does not guarantee brightness. Clear acrylic often transmits about 90% of visible light, but tint, surface texture, and manufacturing quality change the result. Thicker sheets may need stronger edge lighting, particularly in edge-lit designs. A frosted face can spread light more evenly, though it may reduce apparent brightness. Test samples at the real viewing distance. A sample that looks bright on a workbench may appear weak across a parking area.
Think about the viewer’s eyes. At three meters, a dim logo or narrow stroke can lose clarity quickly. At twenty meters, contrast and letter height usually matter more than fine surface detail. In practical sign reviews, a balanced 5 mm panel often performs well for medium-distance indoor use, but it is not a universal answer. I once trusted thickness as the main selection rule. That was too simple. Check nighttime glare, viewing angle, and nearby lighting before approving the final material.
A 50,000-hour LED lifetime sounds impressive, but it needs careful interpretation. It usually describes expected lumen maintenance, not guaranteed operation. A sign running twelve hours daily could reach that figure after more than eleven years. Heat, moisture, power quality, and frequent switching may reduce actual performance. The acrylic face can also yellow or scratch before the LEDs fail.
Ask for LM-80 data when comparing LED components. LM-80 measures lumen maintenance and color shift under controlled temperatures. It does not test the complete acrylic sign. That difference matters.
TM-21 uses LM-80 results to project long-term lumen maintenance. The projection depends on valid testing periods and suitable temperature assumptions. Longer test data generally supports greater confidence.
Look for a clear report, not just a printed claim. Check the tested drive current, case temperature, color point, and reported hours. A sign tested at 85°C may behave differently in a shaded indoor lobby.
A practical evaluation should include airflow, installation depth, and local weather exposure. Ask whether the 50,000-hour statement covers LEDs only, or the power supply and wiring too. Many specifications blur this point.
That is easy to miss. Inspecting one sample at night can reveal uneven brightness, hot spots, or dim edges. No test replaces sensible installation planning.
Choosing an acrylic LED sign is not only about brightness, color, or letter depth. Electrical safety comes first. UL 48 is the key standard for electric signs in North America, covering construction, wiring, grounding, weather resistance, and critical components. Ask the supplier for current certification details, installation instructions, and product markings. A sales sheet alone is not enough.
Check the sign’s location before ordering. A covered storefront may still face rain, condensation, dust, or direct sunlight. UL 48 requirements can differ for damp and wet locations. The National Electrical Code also requires suitable disconnecting means, grounding, conductor protection, and accessible service points. Local authorities may add rules for mounting height, sign projection, permits, wind loading, and illuminated hours. Confirm these requirements with the authority having jurisdiction and a qualified electrician.
Efficiency matters, but compliance cannot be traded for lower power use. The U.S. Department of Energy reports that LED lighting can use at least 75% less energy than incandescent lighting. That saving depends on proper drivers, ventilation, and wiring. Poor installation wastes it.
Small details matter. For example, an undersized cable can create heat behind the acrylic face. A missing seal can invite moisture. These issues are easy to overlook, and that is where careful review becomes necessary. Request inspection records, verify field modifications, and photograph concealed connections before the sign is closed. Mistakes happen. Good documentation makes them easier to find.
Choosing the best acrylic LED sign requires more than comparing its purchase price. I have found that energy use often becomes the quietest long-term expense. Ask for the sign’s wattage, daily operating hours, and expected lifespan. A brighter sign may attract attention, but excessive brightness can waste electricity and reduce visual comfort. Estimate annual energy cost using your local utility rate.
Warranty coverage deserves careful reading. Check whether it includes LEDs, power supplies, acrylic panels, wiring, and labor. Some warranties cover parts but exclude installation visits. That difference can become expensive. Confirm the claim process, response time, and whether repairs require shipping the entire sign. Written terms are more reliable than sales promises.
Tips: Build a simple five-year ownership table. Include purchase, installation, electricity, cleaning, repairs, and possible replacement costs. Compare each option using the same operating schedule. Do not ignore maintenance access; a difficult-to-open sign can turn a small fault into a costly service call. I once underestimated installation labor, and the final budget changed noticeably. That mistake still influences how I evaluate signs. Look for realistic energy data, documented testing, and a warranty supported by clear service procedures. The cheapest option may not remain cheap.